A fun, functional project for the handy home gardener
When NAIT’s Culinary Arts program went to the Carpenter program with a request to build planter boxes to start an on-campus garden, instructor Daniel Belland took on the job. He had only one request in return.
“If we’re going to do something, we have to do it right.”
Using plans drawn by Carpenter chair Allan Jensen, Belland (Millwork and Carpentry ’96, Carpenter ’98) recommended that the wood be cedar and the screws be either porcelain or stainless steel. Both tend to be more expensive, but they’ll ensure the planters last for years despite exposure to sun and moisture.
 “Cedar has natural properties to combat rot and decay,” Belland says. As for the screws, “you can’t just use any fasteners because they will oxidize and leave unsightly black stains on the wood.”
(In a pinch, he says you can use cheaper douglas fir; while not as durable as cedar, it still beats standard spruce or pine.)
“It was a fun little project to build,” says Belland.
It’s also one that can be tackled by a handy home gardener, with the end result being sturdy, functional and attractive. Here are the drawings from which Belland worked, his materials and a gallery in which he demonstrates the key steps that will have you container gardening like a pro within a few days.
How to build the planter
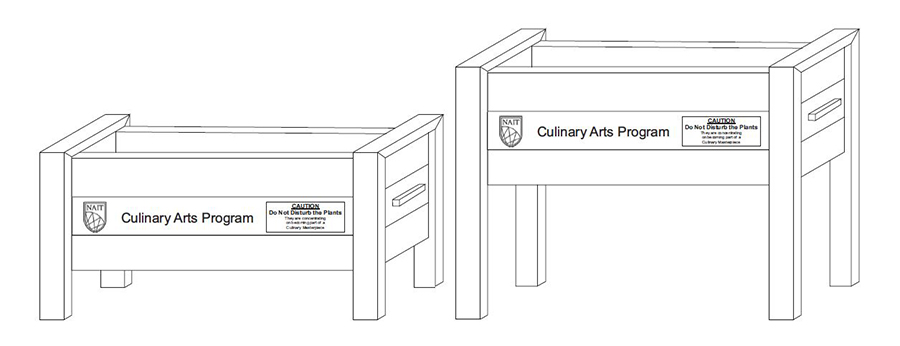
This list of materials and instructions will produce a planter four feet long, two feet wide, approximately 18” deep and up to three feet tall. These dimensions can be modified to suit your space, but will consist of two end frames to which a finished box is attached. Cut the legs to a height of your choosing.
If you choose to work with cedar, you may have to source it from a specialty lumber store. Consider calling ahead.
Materials
- Eight (8) 45” 2x6 boards for the back and front
- Eight (8) 24” 2x6 boards for the sides
- Two (2) 27” 2x4 boards for the tops
- Four (4) 36” 2x4 boards for the legs (for a 36”-tall planter)
- Four (4) 22¼” 2x2 boards for the base cleats
- Twelve (12) 20⅞ 2x4 boards for the bottoms
- A box of 100 2½” screws
- Titebond III wood glue
- Porous landscape fabric (look for this in the gardening section)
Tools
- Mitre or hand saw
- Drill
- Countersink bit
- Robertson bit
- Level
- Square
- Combination square
Instructions
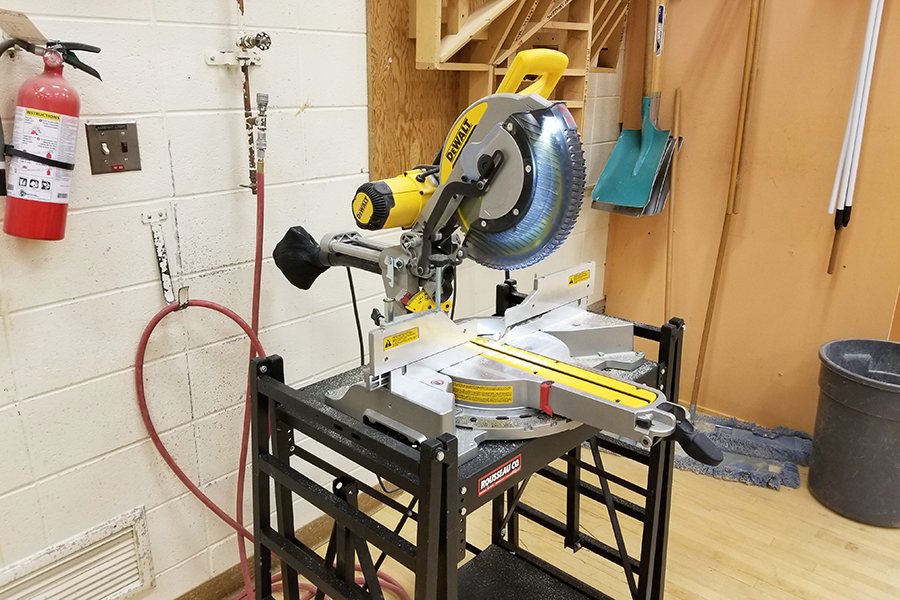
Start by cutting all the boards to the lengths listed above. A mitre saw isn't essential, but it will make the job easier and faster.
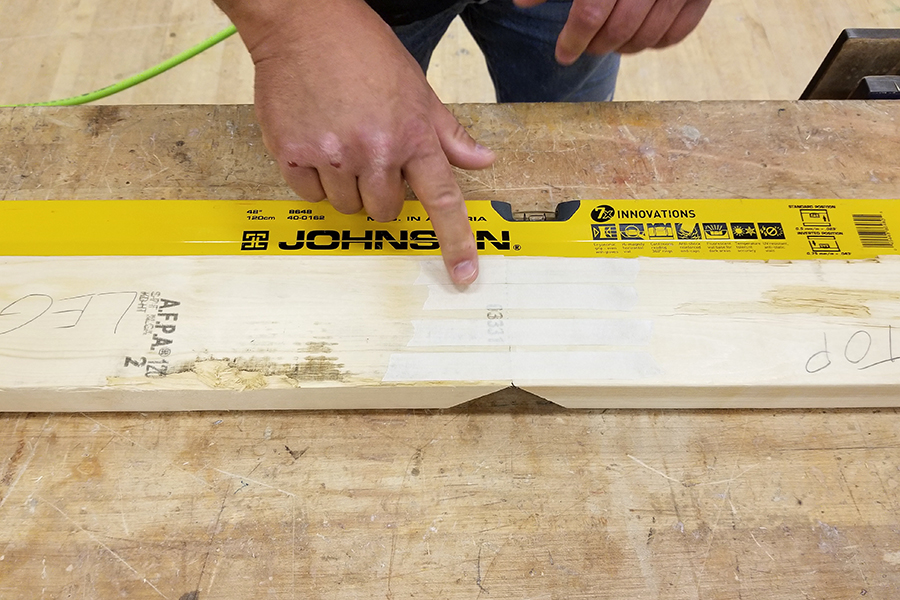
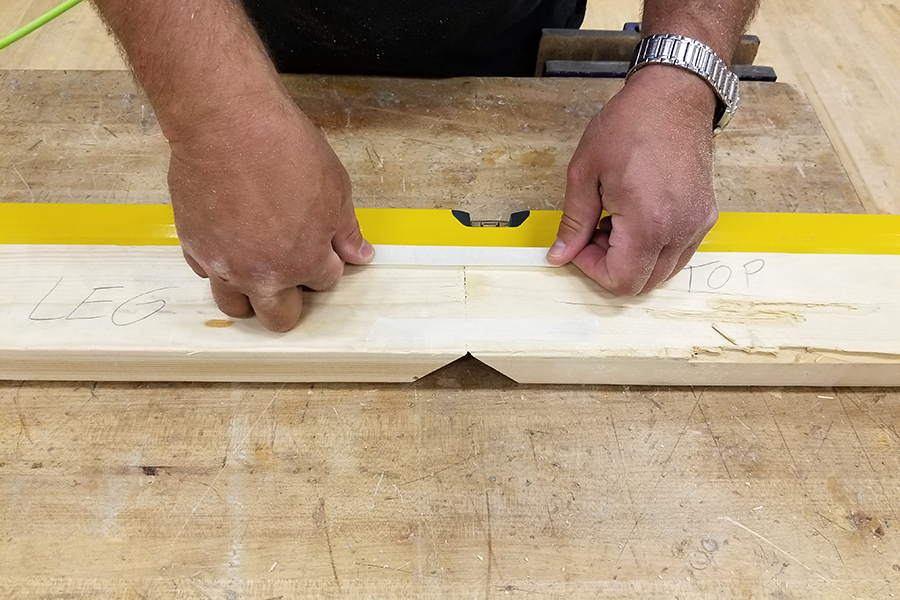
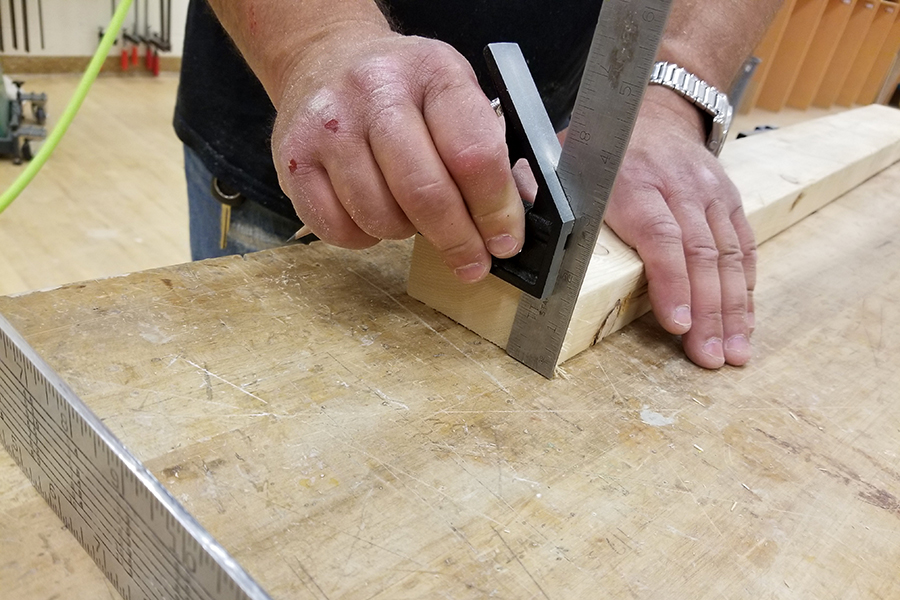
Cut a 90-degree corner at the top of one leg and just one end of the top board. Then tape the two ends together (stretch the masking tape when applying so that it pulls the pieces tight). Square them against a hard edge, like a level. Make sure the top board is a little longer than the finished length to allow for cuts to come.
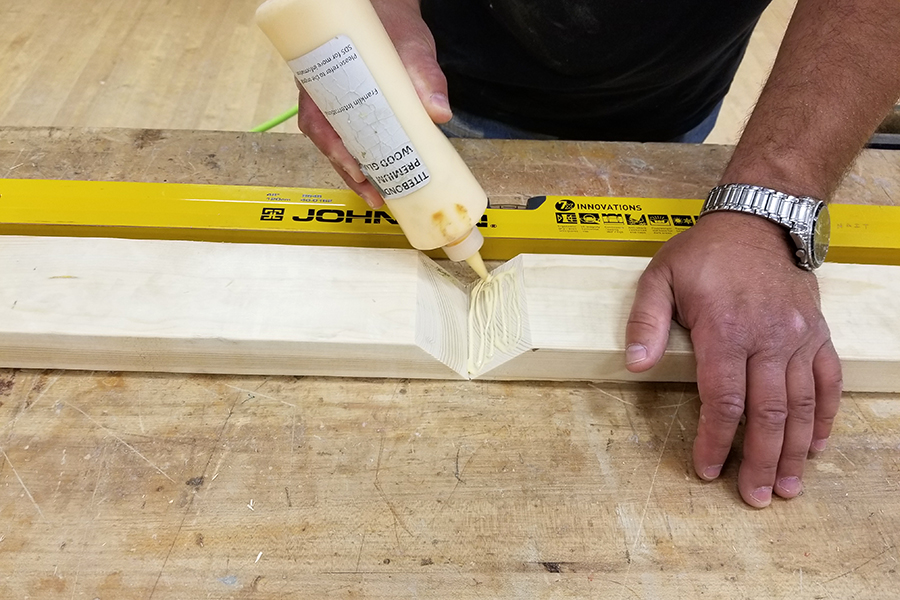
Carefully flip over the boards and apply glue to one side of the joint.
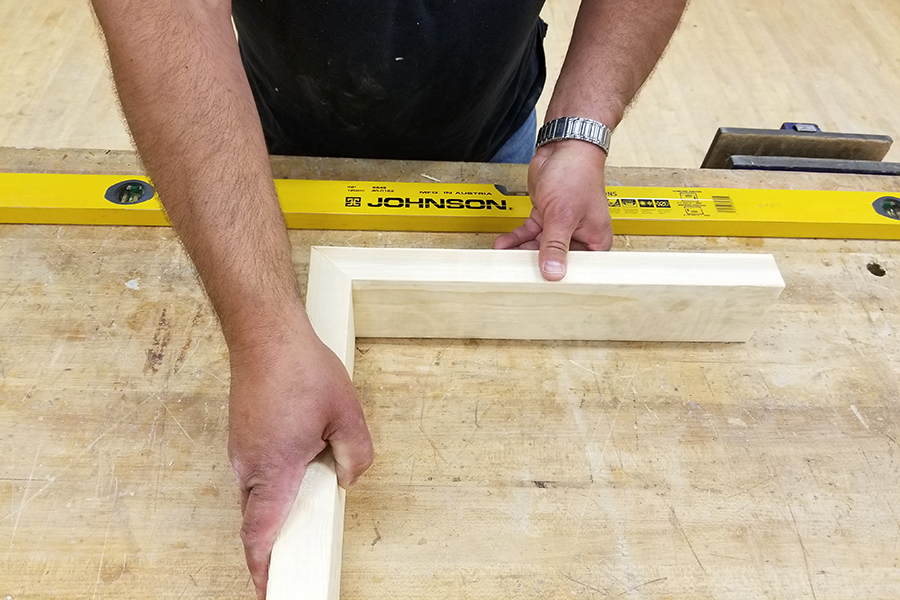
Bring the corners together so they're square.
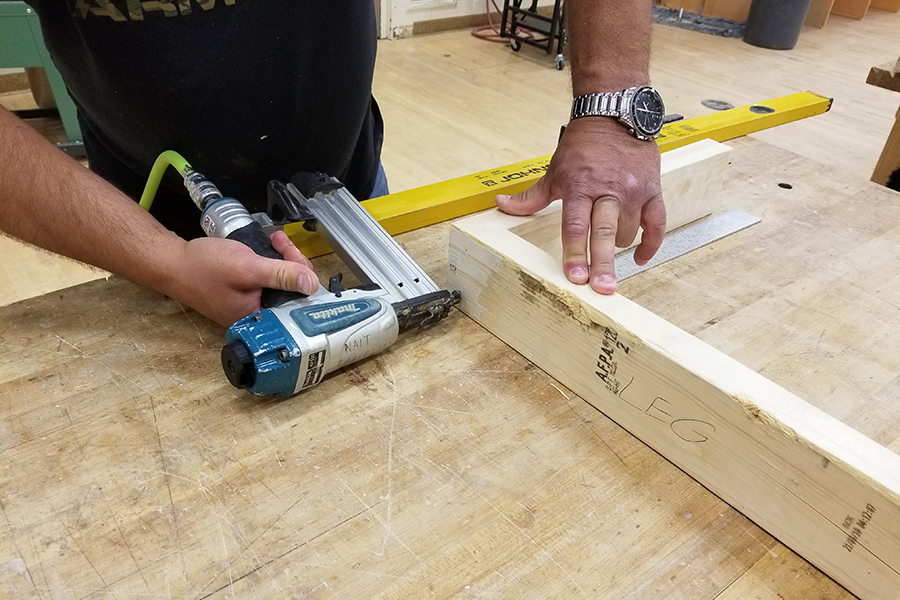
Fasten the corner using a nail gun or 2.5" screws (which are used throughout the project). Allow the glue to dry overnight. Make two of these L-shaped piece in total, one for each end of the box.
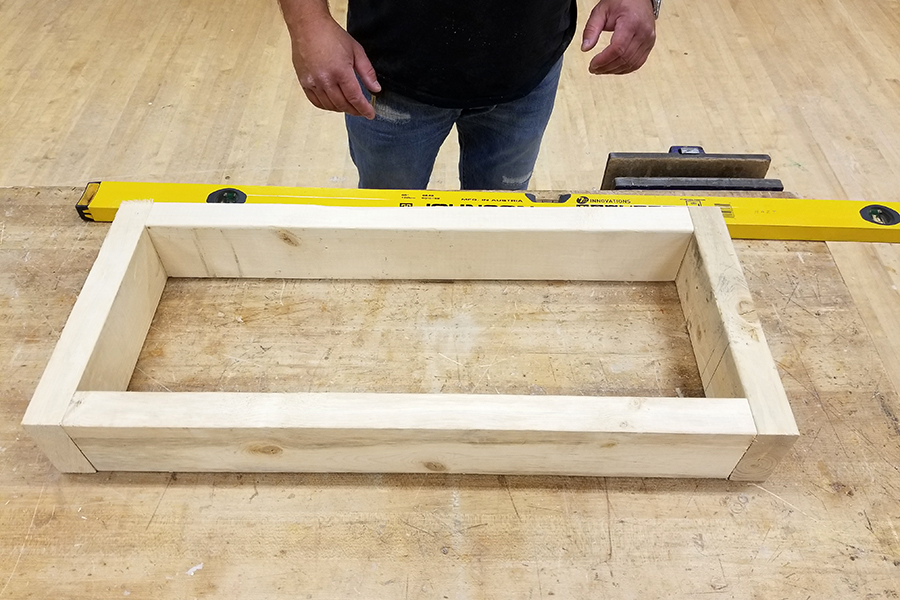
Start building the box, fastening the corners using a nail gun or screws. Note that the side walls are outside of the front and back walls.
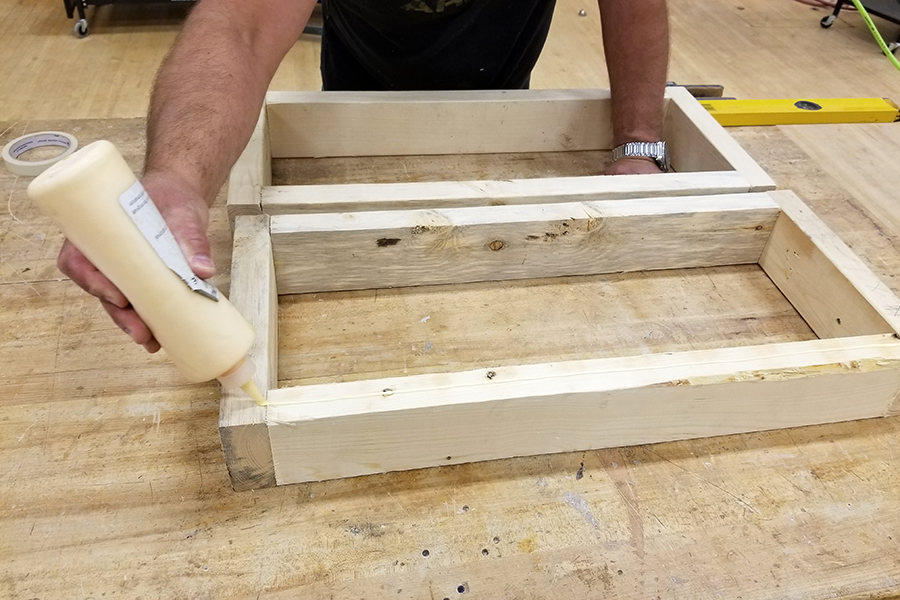
Apply glue between sections of the boxes.
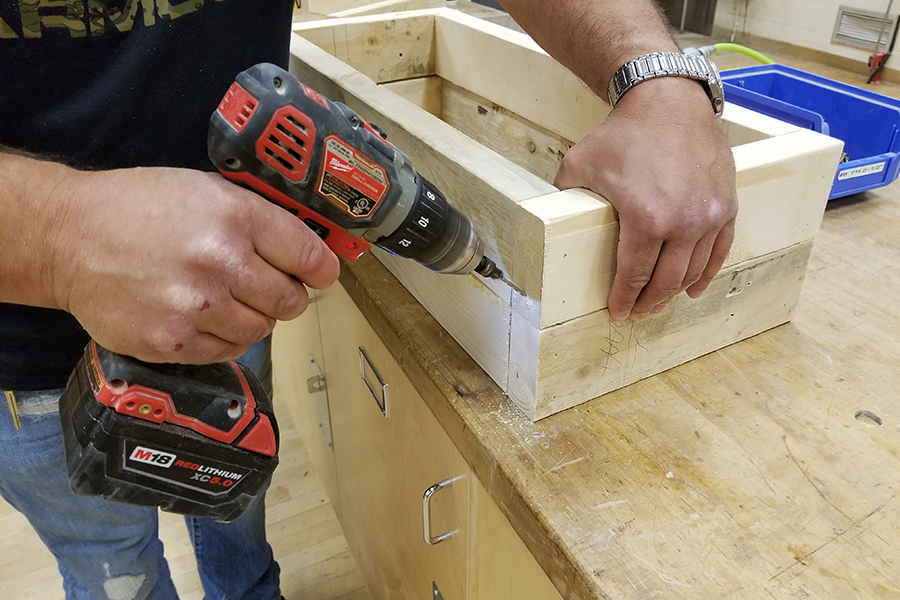
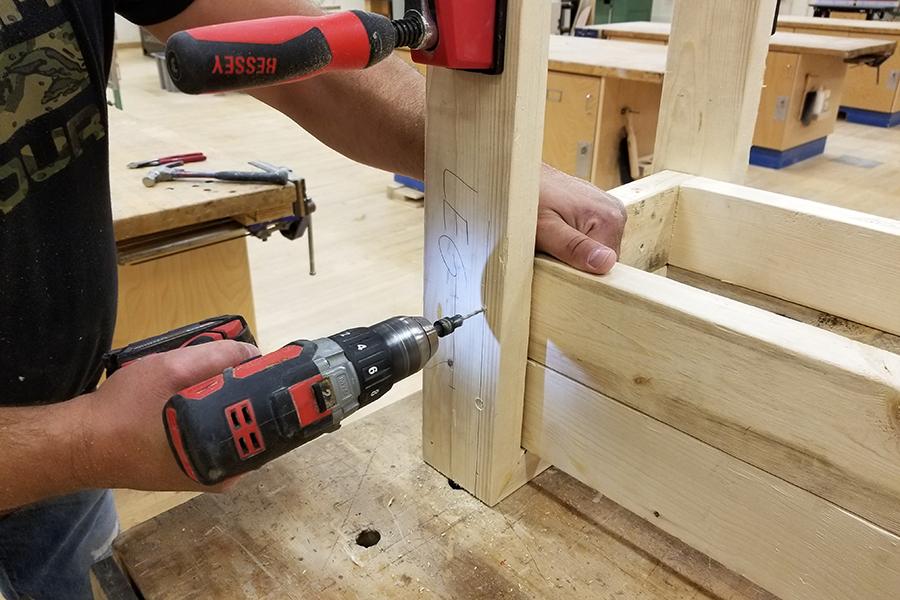
Stack the sections, bringing the corners flush. Drill pilot holes for the screws, Start them by drilling straight into the wood for a moment, then direct the bit downward.
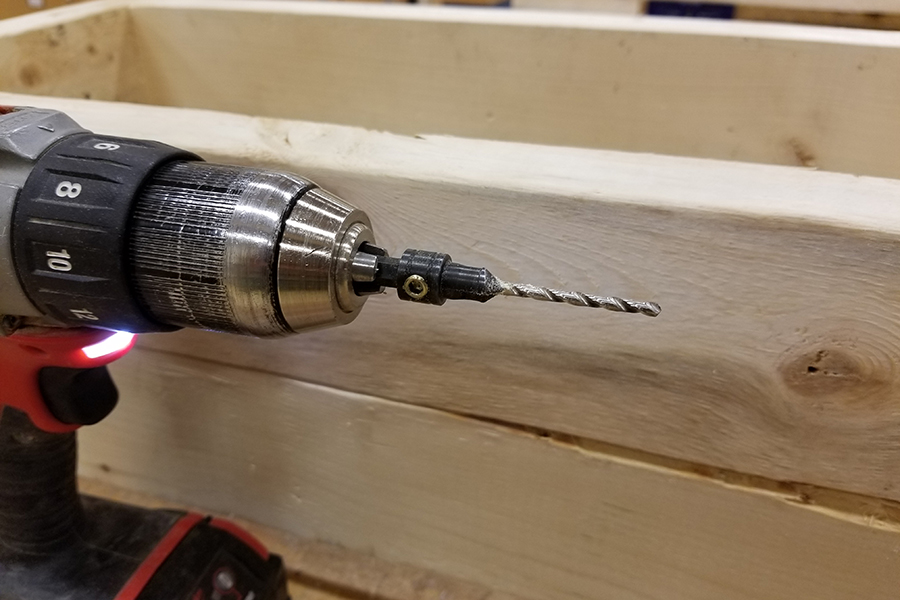
Use a countersink drill bit.
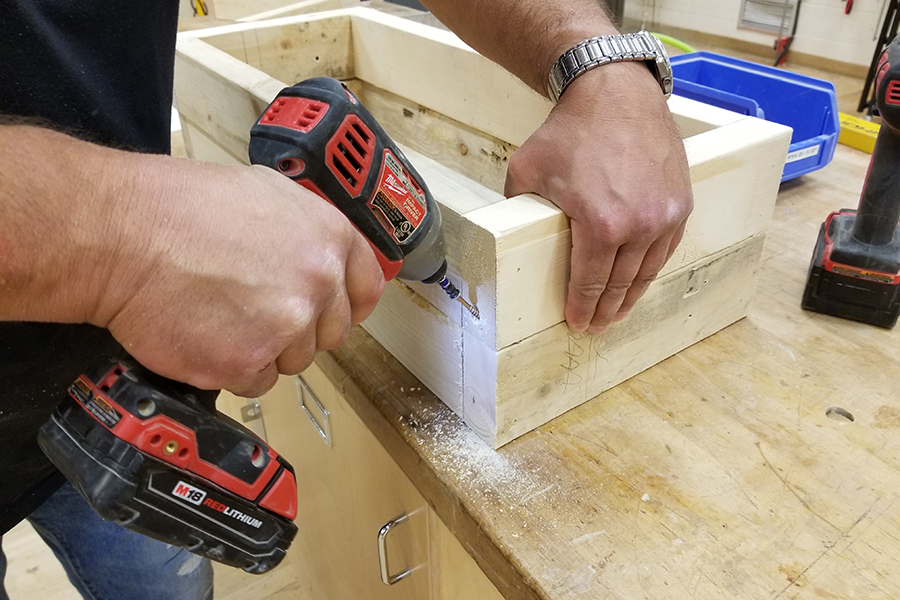
Fasten the box at each corner with a screw.
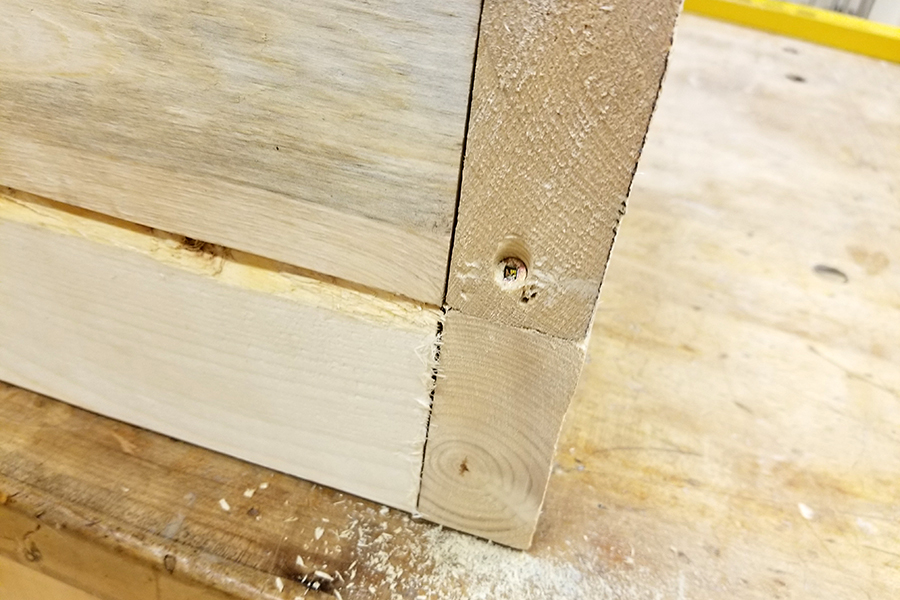
The screw should look like this. Now, flip the box before attaching to legs so that water won't pool in the screw hole. Allow the glue to dry overnight.
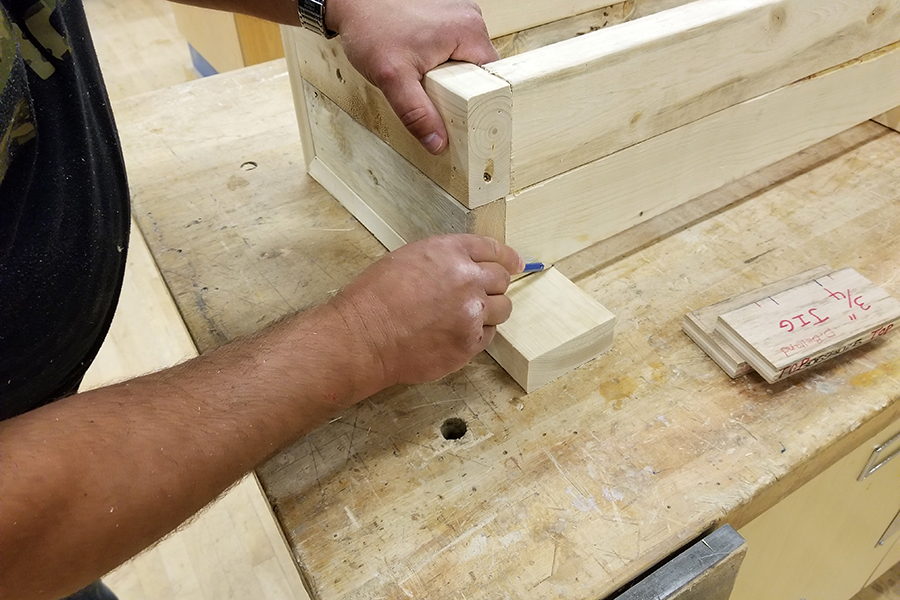
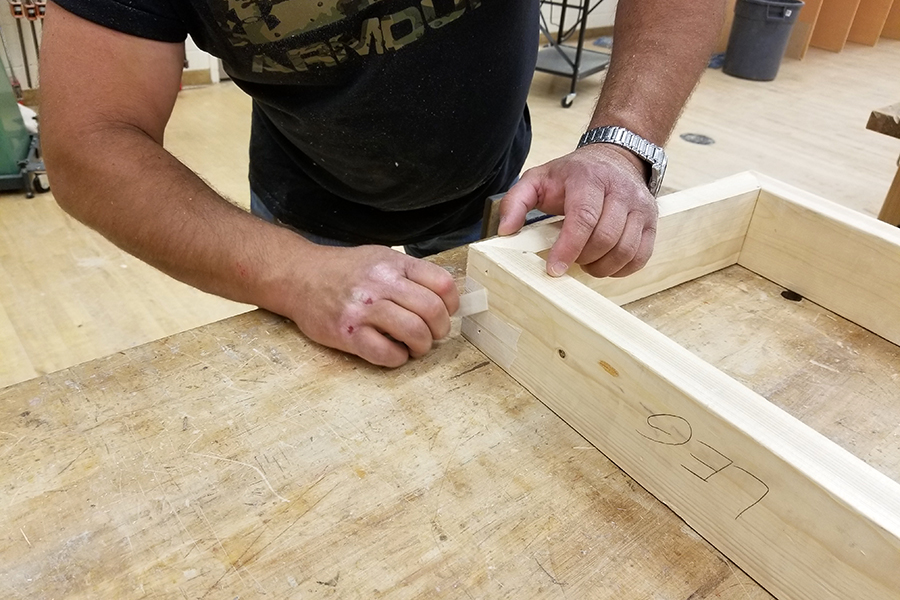
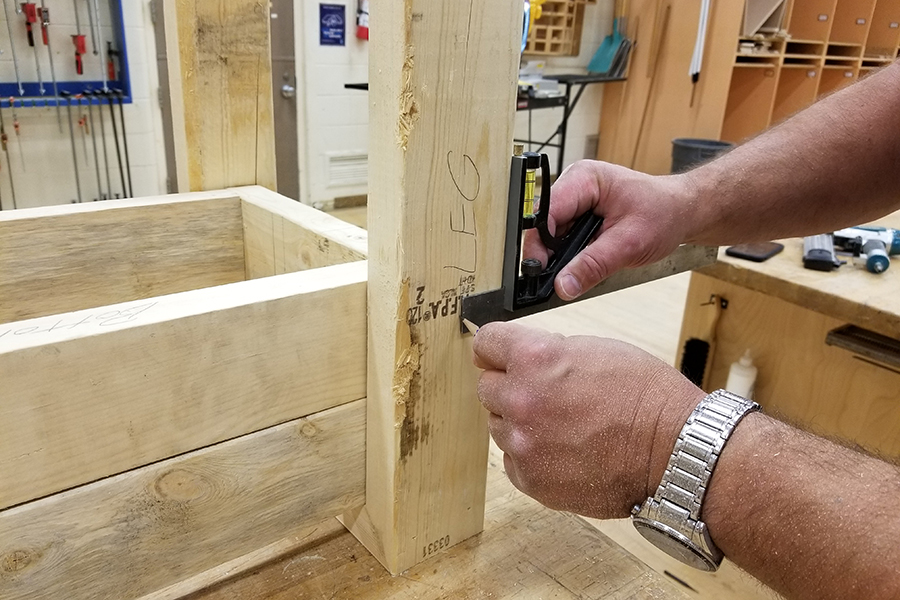
Slide the partially finished L-shaped leg under the box and mark the edge that will be the inside of the corner cut to attach to the other leg.
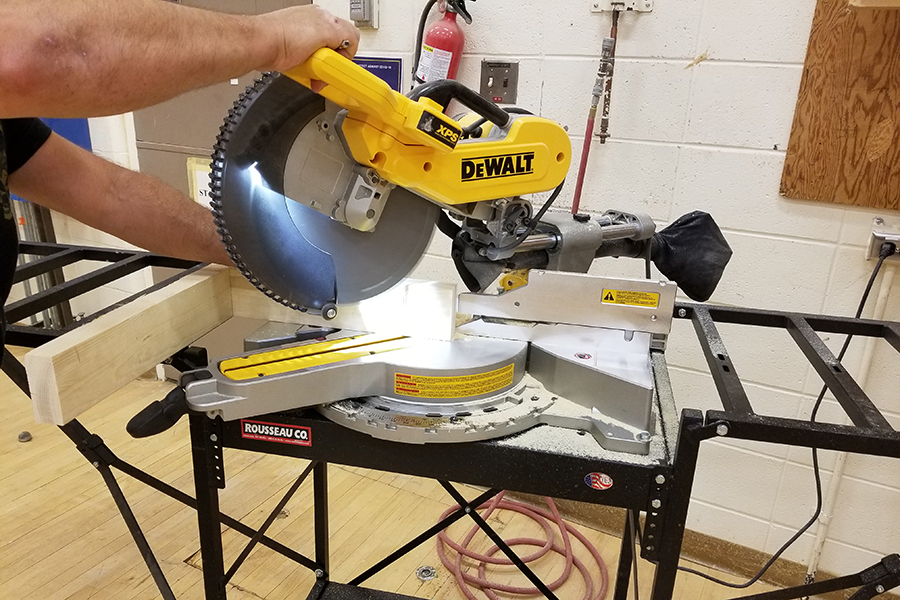
Make the 90-degree cut.
Tape the corner pieces as before, with the attached leg hanging down the side of workbench.
Glue, flip and fasten corner as before. Allow to dry overnight. The end result is a U-shape.
Remove all tape.
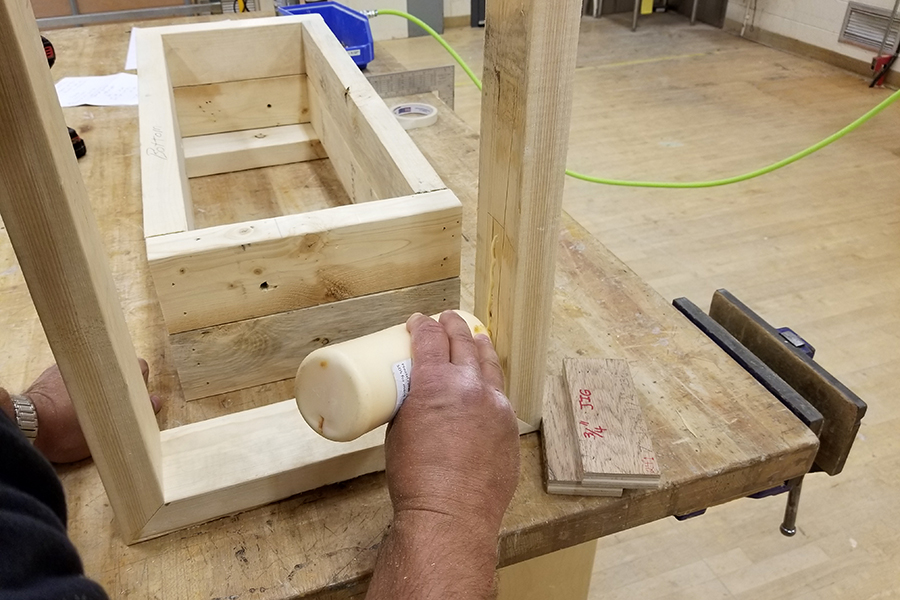
Glue inside the legs and along the underside of the top to help the box hold the weight of the soil, plants and water. Only apply glue where the legs will make contact with the box. The open end of the U-shape is the part that stands on the ground.
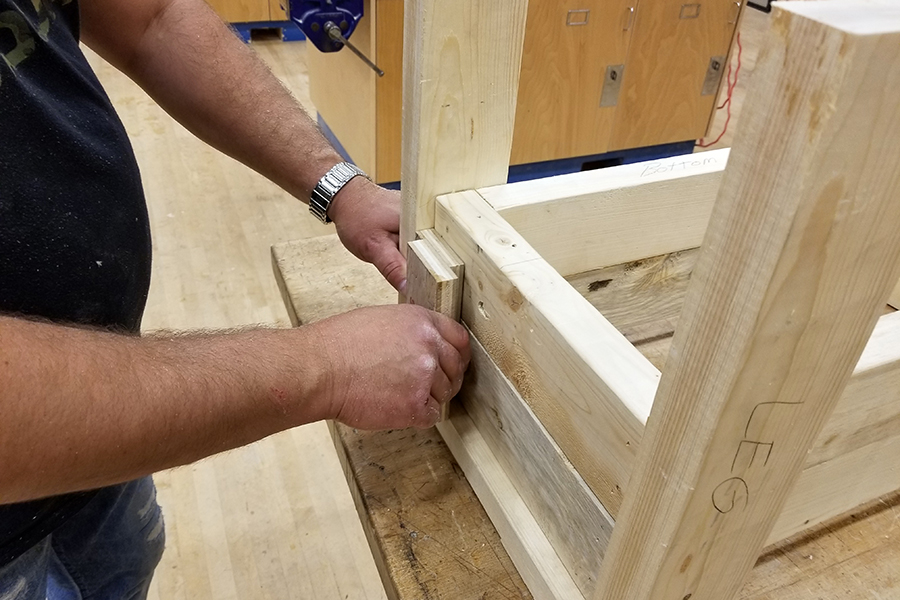
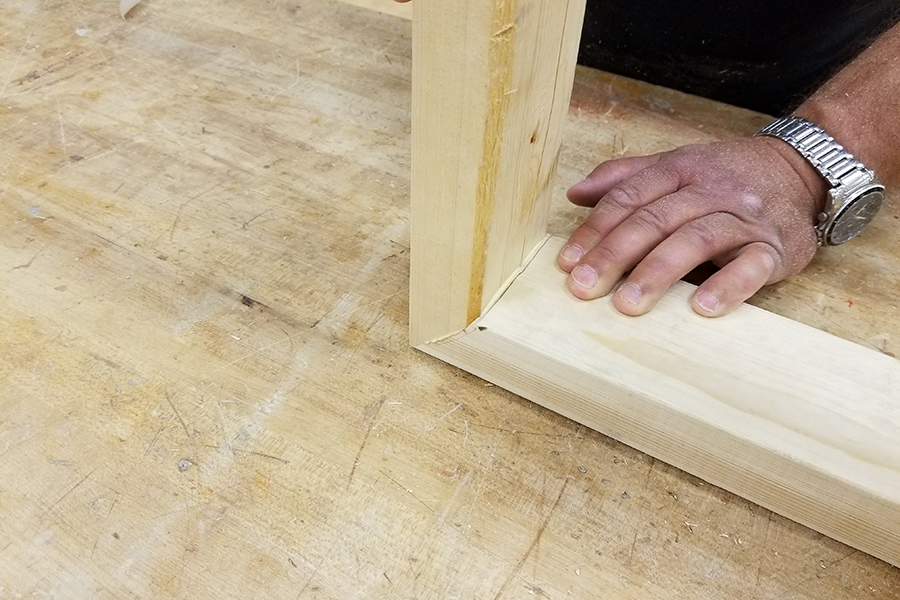
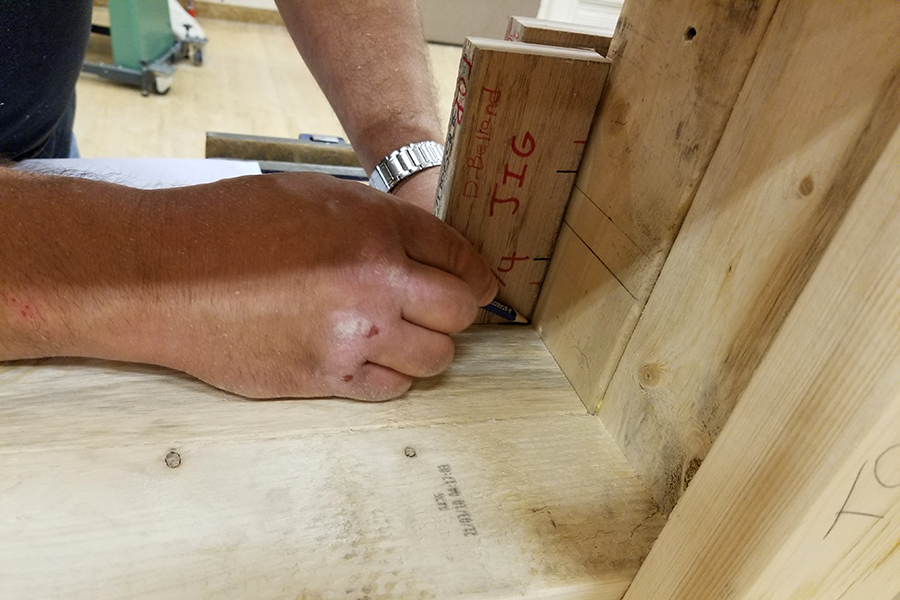
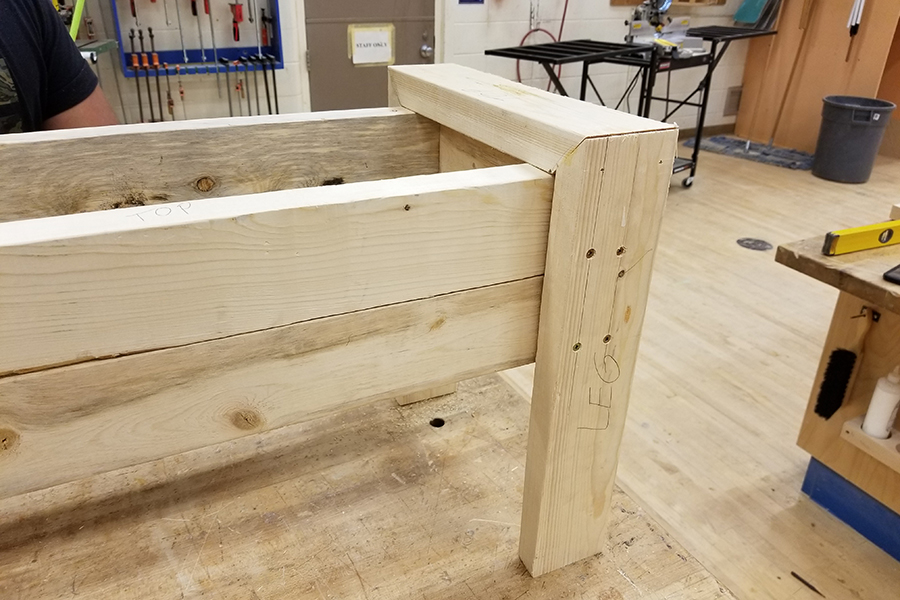
Place the leg so there is a 3/4" overhang beyond the box. Belland uses a jig to measure the gap at each leg.
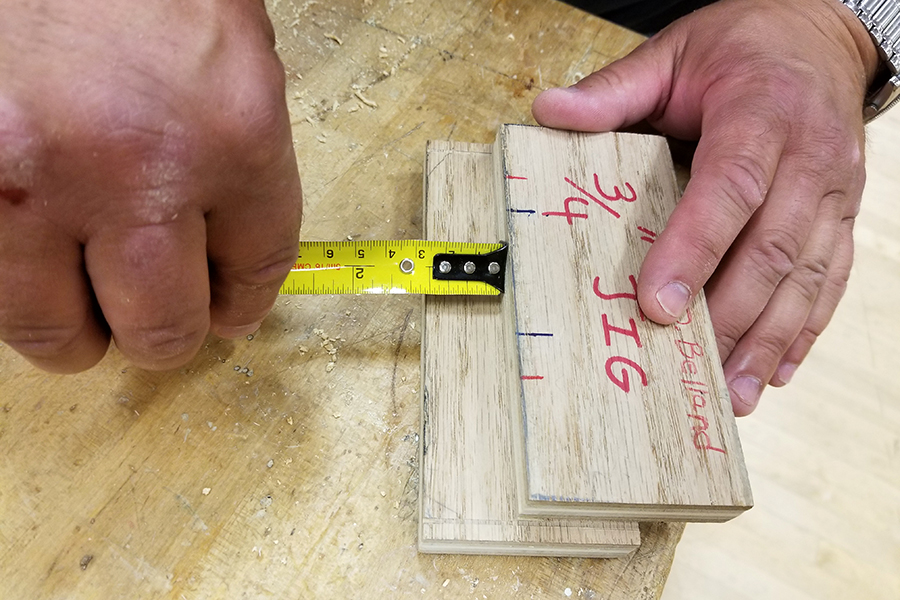
Belland built this jig out of spare pieces of 3/4" plywood.
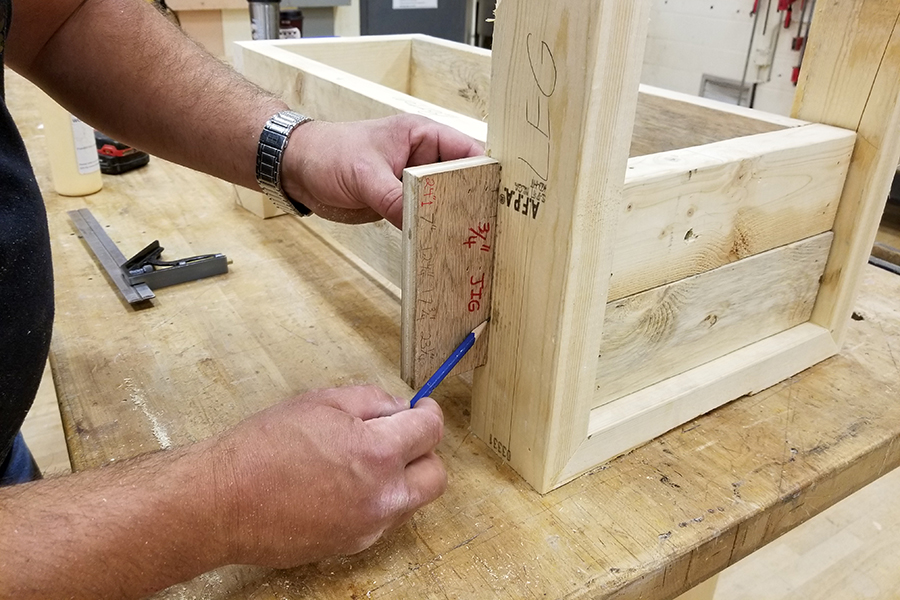
A combination square adjusted to 1.5", which accounts for the 3/4" overhang, will ensure that you fasten the screws through the centre of the ends of the side wall boards.
Slide the combination square along the outside edge of the leg with a pencil to mark where screws should be fastened.
Use the jig the same way on the other side, or ensure screws align along the leg 3/4" from the inside edge.
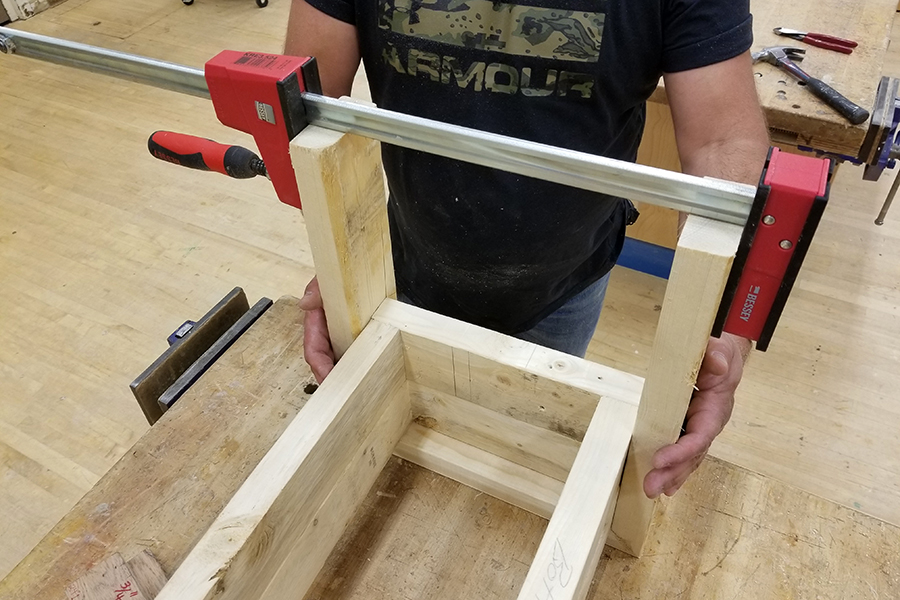
Clamp the legs together.
Fasten legs to box using the countersink bit and screws. Repeat this process for the other end of the box.
To install the underside of the box, start by making a mark 3/4" from the bottom on the inside.
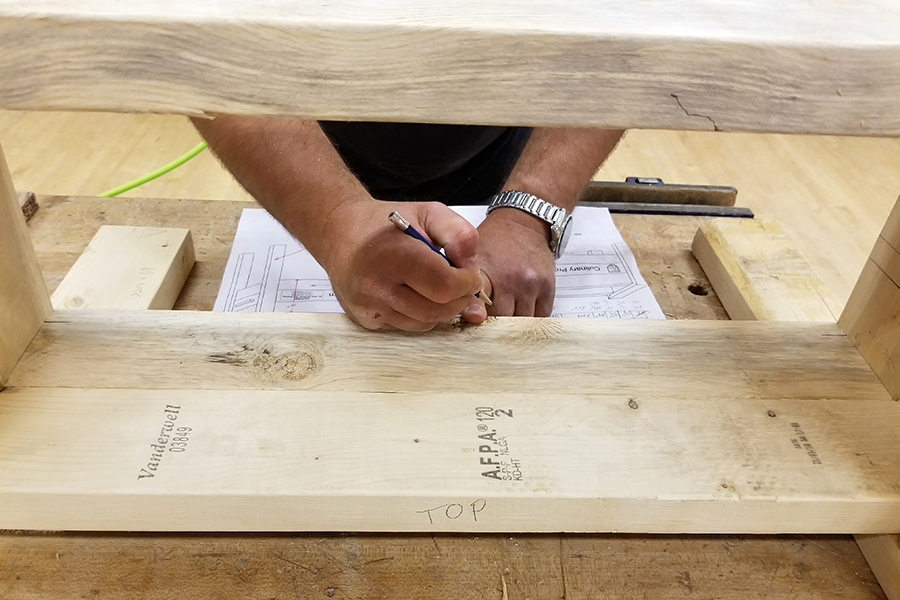
Mark the middle of the box at the bottom inside edge.
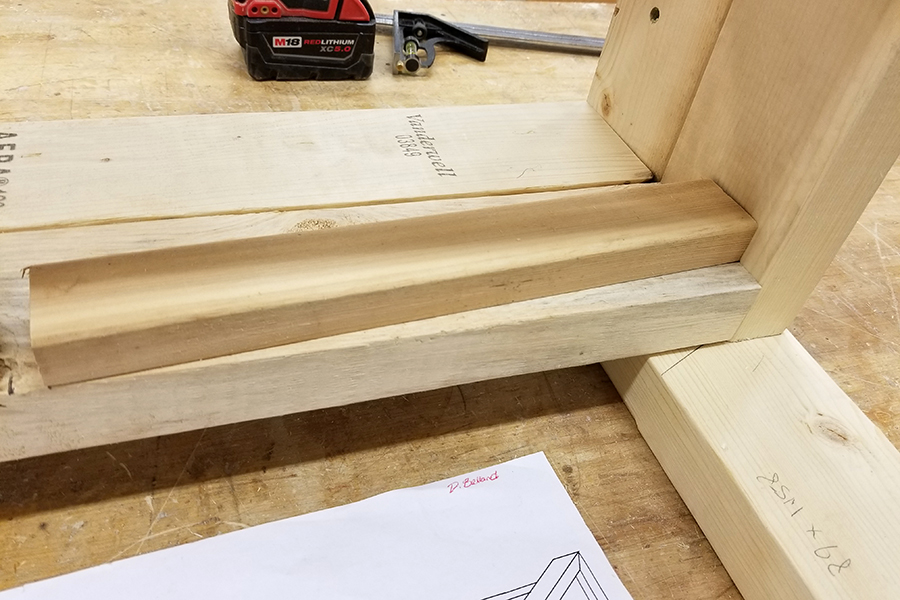
Install the bottom support at an angle, in line with the marks you made. One end will be raised 3/4" and the other, at the centre, will be flush with the bottom of the box.
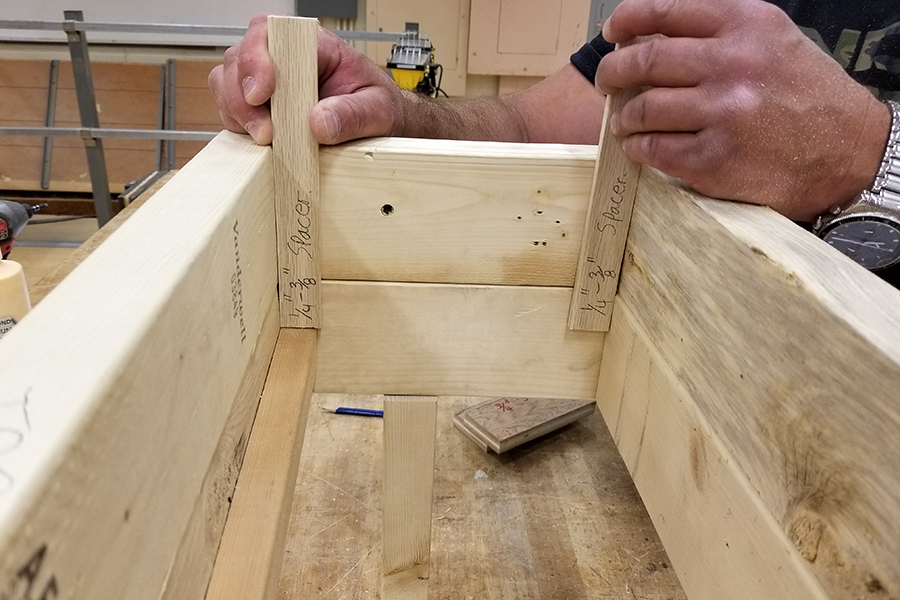
Install the bottom 2x4s with spacing of 1/4" or 3/8" between each one, parallel to the 24" side boards. Fasten through tops of the ends of the 2x4s into the bottom supports. The angled configuration will help with drainage.
Line the box with landscape fabric, fill with potting soil (top soil will be too heavy) and start planting!